
Hello Crafty Friends,
We reached the last month of the year and what a beautiful theme we have for the christmas season here at Rainbow Craftykari blog.
I'm Priya with you today with a picture tutorial of my project "Winter Wonderland"
This is what I made


We reached the last month of the year and what a beautiful theme we have for the christmas season here at Rainbow Craftykari blog.
I'm Priya with you today with a picture tutorial of my project "Winter Wonderland"
This is what I made

So let's start the tutorial...
Step 1:
I started with making the base for this. I have a lot of thermocol pieces in various shapes and sizes so I decided to make the base with them. Here are the two pieces with which I made the base.

Step 2:
I cut the circular piece into half and glued it to the rectangle base like this.

Step 3:
Now I cut a piece of gauze and dipped it in white gesso and adhered on the top part of the half circle. My idea here is to make some effect of melting ice dripping from the roof. After this you can choose to paint the whole with white chalk paint. I did not do it as I'm going to cover the whole surface.

Step 4:
Now I'm going to make the christmas trees. For this I used bottle cleaning brush and cut them into half, colored them and added gesso to give the look of ice on them. For two of them I adhered wooden slices on the base with the help of glue gun and rest two I fixed in the front. You can see the difference in the texture of the trees. It is because I used two brushes one is new one is used and old one. I'll recommend to use new one to get better result. Pictures of all these steps are below.


Step 5:
I fixed two trees at different heights in front. For this I used a small piece of thermocol as the base for the tree attached below. I attached two foam silver stars on the top of both the trees here. Picture follows...


Step 6:
Now I had these pine cones which I collected from our trip to Shimla. These are excellent pieces to use in any craft project. I picked one and brushed white gesso on it and attached to my base beside the christmas tree.


Step 7:
Now I covered the base with green moss. For this I used Tacky glue and it looked really nice and green. And attached two bells on to one side of the roof.


So, it looked like this after this step is done. Then I went on to add some snow for which I used this... Polyester that is used to stuff the stuffed toys. And I smoothed the edges with some texture paste and gesso.

Now it's time to decorate this wonderland and add some color. I opted to do some quilling pieces for this.
Step 8:

As you can see in the picture, I used 3mm and 5mm white strips, 5mm Red strips and Black 3mm strips, quilling tool and white glue.
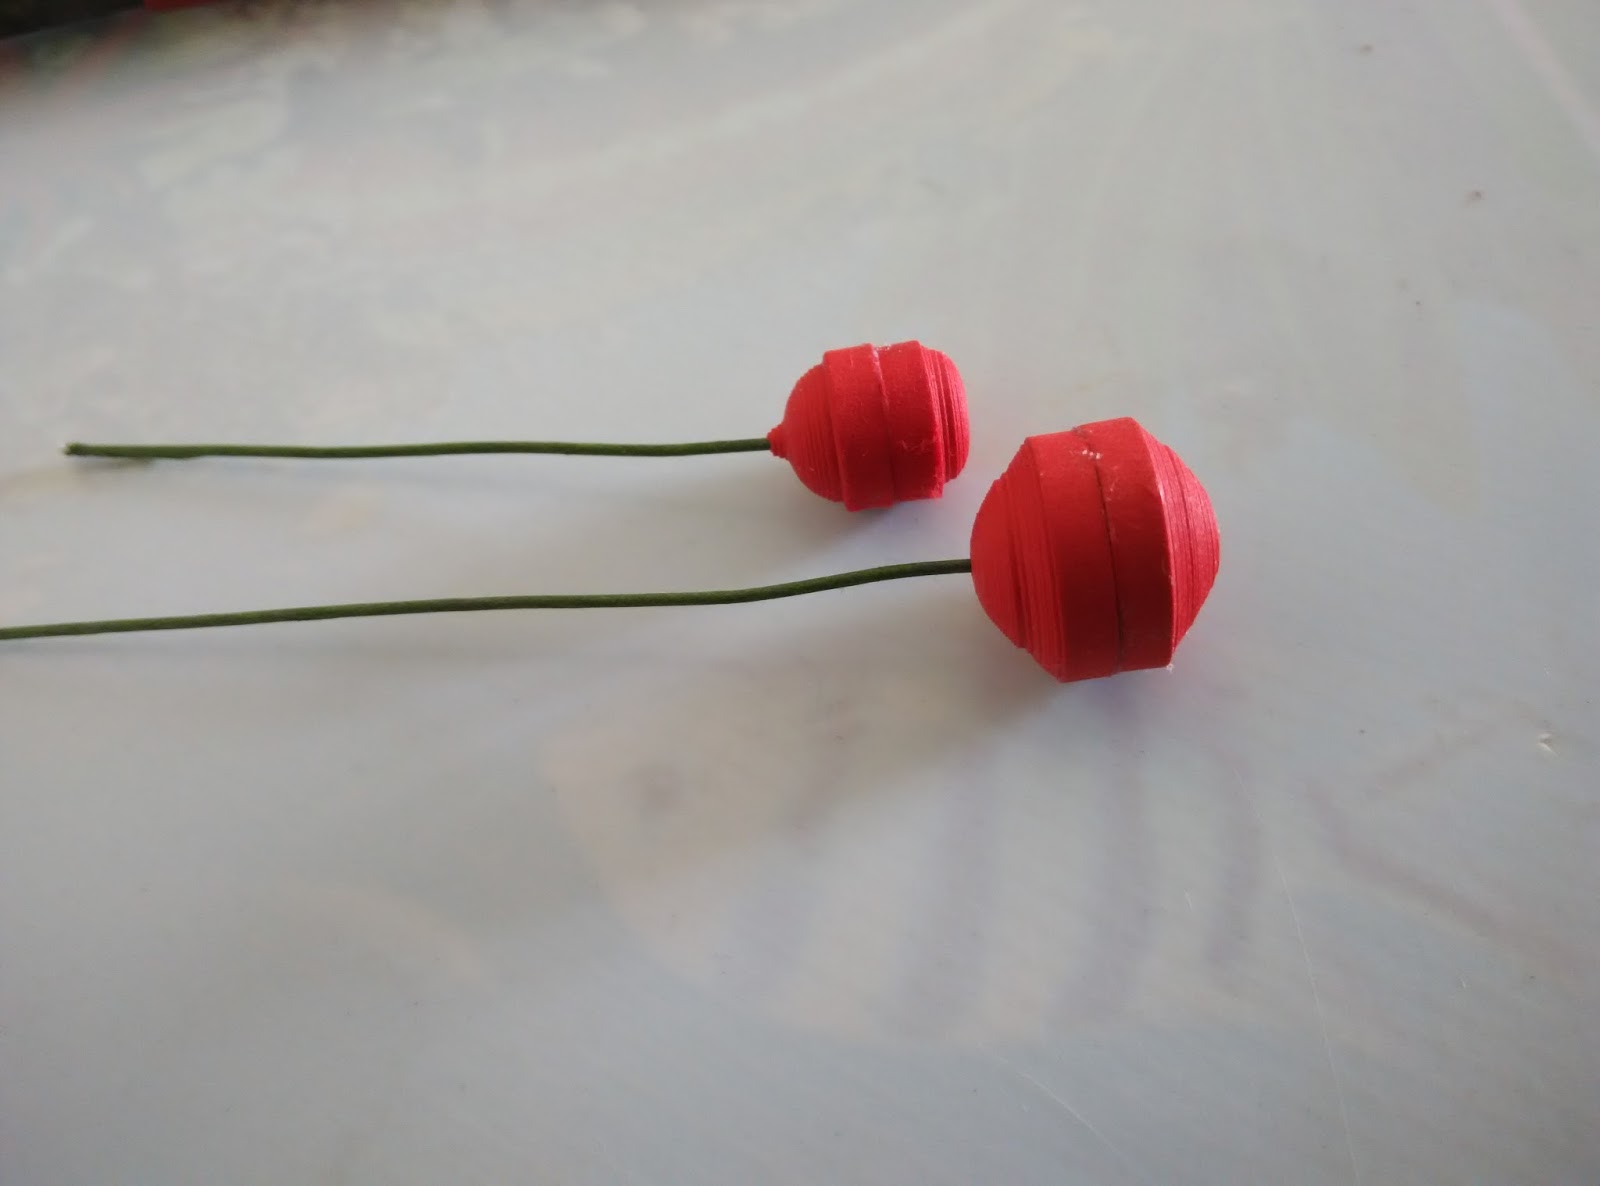
I made a few white and red berries first and here are the dimensions. As you can see I have already made little domes out of the quilled circles. I made them with 3mm strips only and used 2 strips for each big dome and 1 strip for each small dome. Here I have shown the picture of flower wire which is going to be the pedicel for the buds here.

Now I cut the wire and made the bunch of berries as shown in the picture below.


After placing the wire into one dome, I sealed it adhering the other half of the dome.


After making it into a bunch, I attached few leaves from my plant to make it look more attractive and also brushed some white gesso here.


Step 9:
Now I decided to make a snowman and ended up making two. The dimensions are same for both, difference is the strips used; one is made with 3 mm and the other with 5mm.


Their scarf was made out of 5 mm strips just one wrap around the neck and glued in front and back.
Step 10:
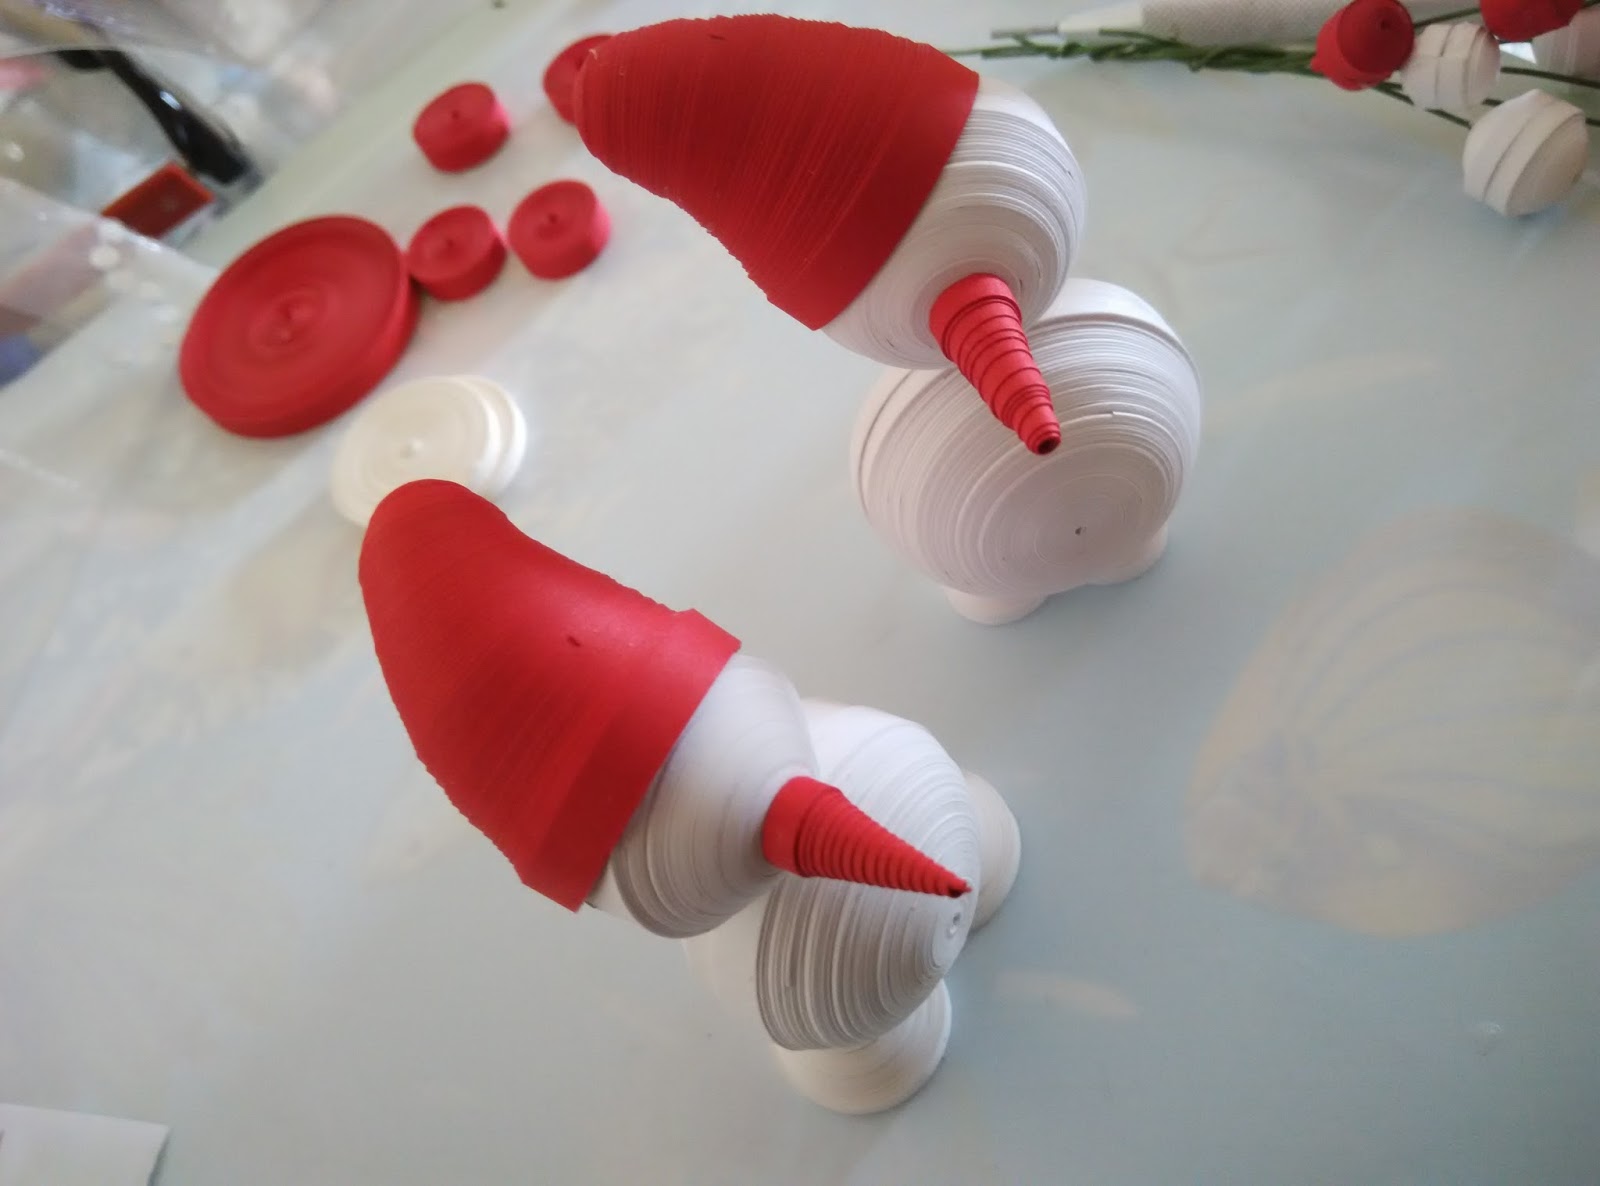
Now onto our favorite Santa Claus. He looks like this once finished.

The dimensions

For his hair and beard, I used 3mm strips cut into small pieces and curled them. Then I attached them onto it's head like this...


Step 11:
Now I arranged all the pieces on the base and sprinkled some glitter here and there. My Wonderland is ready.
Some more pictures...


 |
| This is how it looks from the backside |
 |
| Tried some light in Dark |
 |
| Arial View |


(This Project was a Winner at C.R.A.F.T Challenge and a topper at HLS Mixed media Challenge)
Supplies Used:
Thermocol Sheet and some shaped pieces
White gesso
Tacky Glue
White Glue
Quilling Tool
Plyer
Cutter
Gauze
Quilling Strips ( 3mm, 5mm)
Dried Moss
Polyester
Bottle Brushes
Wooden Slices
Pine cone
Bells
Foam Stars
Hope you liked the tutorial. You can get all the above mentioned supplies from Rainbow Craftykari Store or pre-order by sending email to rainbowcraftykari@gmail.com
And do not forget to enter our challenge here and get inspired by our amazing DT Members.
I would like to enter the following challenges...
Thanks for visiting...
Hugs,
No comments:
Post a Comment